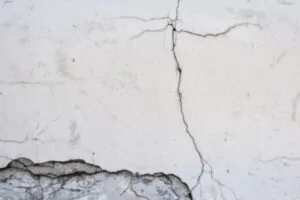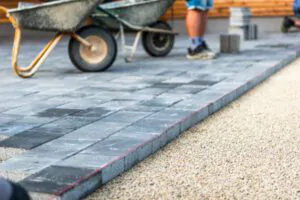
When the integrity of a wall becomes compromised, complete with holes, cracks, or other forms of damage, it beckons for a repair that restores its strength and aesthetic appeal.
The process, while it might seem daunting, is a pillar of home improvement, imbued with practicality and a touch of artisanal craftsmanship.
Delving into a repair hole in a concrete project requires an understanding of the materials and methods that will bring walls, floors, and even ceilings back to their original glory.
This guide lays out a step-by-step approach, transforming novices into skilled repair artisans, instilling confidence with each stroke of the putty knife and turn of the screwdriver.
Keep reading to embark on a journey of transformation that redefines the surfaces within your home.
· Assessing the Damage
When faced with a damaged wall, the initial step is evaluating the extent of the issue, distinguishing between surface-level wear and structural damage.
For holes, like those from screws or impacts, careful inspection of hole edge is crucial. Trim away loose drywall with a utility knife, creating a clean surface for effective patching. This preparation ensures a secure bond with the wall’s structure.
Repairing a floor or ceiling demands caution with hidden features like pipes and wiring.
A stud finder identifies potential obstacles, allowing the craftsman to focus on restoring surface continuity without causing additional damage to underlying elements.
· Gathering Your Arsenal – Essential tools include
Before embarking on the journey of repairing the imperfections that mar the elements of your home, one must be armed with an arsenal of tools and materials designed specifically for the task at hand.
Safety, the paramount priority, calls for gear that will shield against the inevitable dust and debris.
A thorough cleaning of the affected area is mandatory to achieve a bond that’s durable; this requires an assortment of brushes, sponges, and wire brushes.
Deft hands wield chiseling tools like a sculptor, delicately removing unsound pieces of material.
The creation of a fresh mixture, whether it is mortar, concrete, or spackling paste, demands an array of mixing tools standing by indispensable for achieving the right consistency.
Lastly, quality repair materials be it joint compound, epoxy, or cement filler—complete the roster, promising to restore the integrity and aesthetic of your home’s surfaces.
1. Safety gear
Embarking on home improvement endeavors necessitates protective measures, where safety gear stands as the guardian against the myriad of hazards involved. A dust mask becomes an essential shield to prevent inhalation of fine particles, while glasses guard the eyes from stray debris. Gloves protect the skin during the handling of sharp objects and corrosive substances, ensuring the task at hand is met not only with precision but with the utmost safety.
2. Cleaning tools
Approaching the task of cleansing the area to be mended, one requires tools adept at removing any accumulated dust, dirt, or oily residues. Utilizing a sturdy wire brush, loose particles can be scrubbed away, while dampened sponges pick up finer grains, ensuring the substrate is pristine. This meticulous cleaning sets a firm foundation for the adhesive or filler to latch securely onto the surface, which is essential for a long-lasting repair.
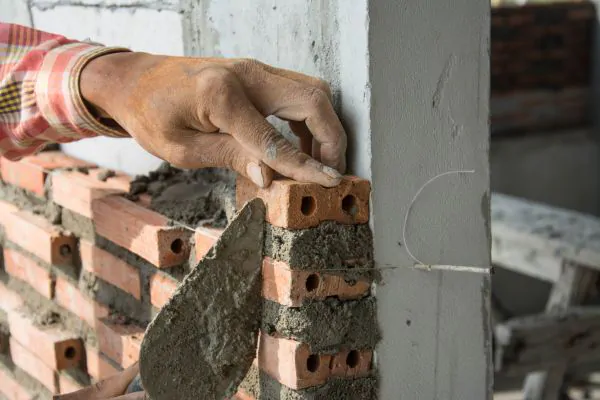
3. Chipping tools
Within the delicate process of concrete wall hole repair, chipping tools prove invaluable, offering the precision necessary to remove damaged fragments without compromising surrounding areas. A chisel, brandished with a careful yet firm hand, slices through concrete, stucco, or mortar, effectively excising the flawed portions. Equipped with these tools, the expert meticulously shapes the cavity, preparing an ideal recess for the new filling material to anchor securely.
4. Mixing tools
Without the proper mixing tools, the potential for an uneven consistency in spackling paste or concrete grows, which could compromise the repair’s integrity.
A robust mixing stick, often paired with a power drill equipped with a paddle attachment, ensures a smooth blend, critical for the adhesive or sealant’s optimal performance.
The skilled craftsman knows that the secret to a seamless patch lies not just in the quality of materials but in the thoroughness of their preparation.
5. Repair materials
No restoration can take place without the backbone of quality repair materials, which include an arsenal of products like cement, spackling paste, joint compound, and epoxy. Each substance excels in various scenarios; spackling paste is ideal for filling small nicks in drywall, while joint compound, or mud, lends itself to larger drywall projects, and epoxy provides a robust solution for concrete hole repair. The handyman, adept at discerning the correct material for the job, ensures the chosen product not only matches the repair requirements but also aligns with the long-term durability expectations of the homeowner.
· Prepping the Battlefield
After assessing the wall breach, the focus shifts to meticulous preparation of how to repair a hole in concrete effectively. This includes safeguarding the surroundings with protective plastic and painter’s tape.
Precision is key, with the craftsman measuring the damaged area precisely, marking boundaries for a seamless integration of repair materials. An expert also evaluates the site for moisture, recognizing the need for waterproofing before proceeding.
These preparatory steps create a controlled environment, ensuring a clean, efficient workflow. Proper conditions make sure that sealant, joint compound, or concrete filler will cure effectively, fortifying the repair against future deterioration.
Crafting a well-prepared battlefield is essential in home improvement, where precision is paramount.
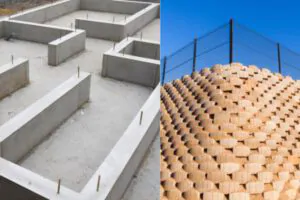
· Mixing the Elixir of Strength
The creation of a concrete hole repair solution requires precision, understanding, and respect for the raw materials. Expert Concrete Professional measures each component, from Portland cement to lime, blending them with water to achieve a paste with the ideal consistency. This ‘elixir’ promises to not only fill the gap but also to bond with the existing structure and withstand the test of time.

With every rotation of the mixing tool, the professional ensures no pockets of dry powder remain. Air bubbles are the nemesis of a strong bond, prompting the expert to mix diligently, creating a smooth, uniform substance. The prepared mixture exudes confidence, ready to bestow new life into the damaged wall or crumbling concrete.
The artisan adjusts the concoction, adding finesse with specialty additives when dealing with larger cavities or areas of high stress. Fiberglass or polymer-modified compounds might join the blend, enhancing tensile strength and flexibility. It’s this tailored approach that marks the difference between a temporary fix and a permanent solution.
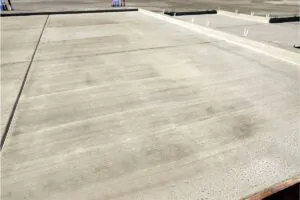
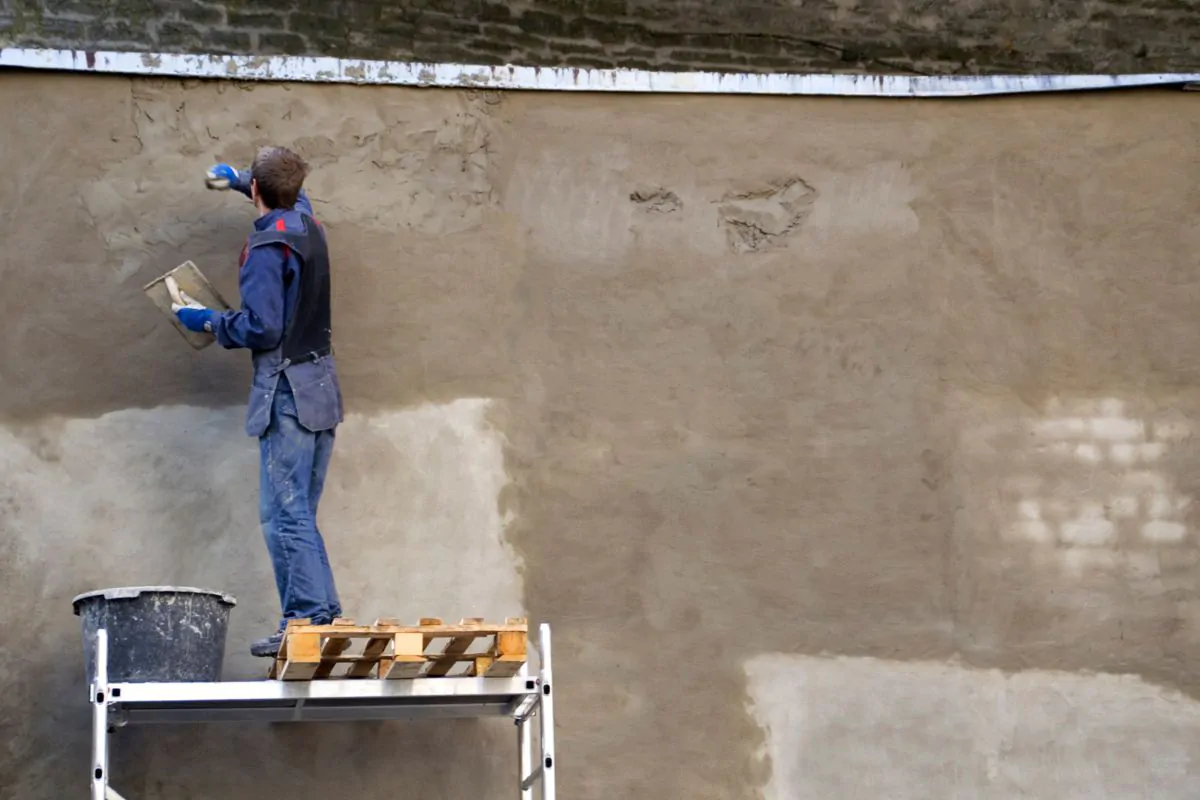
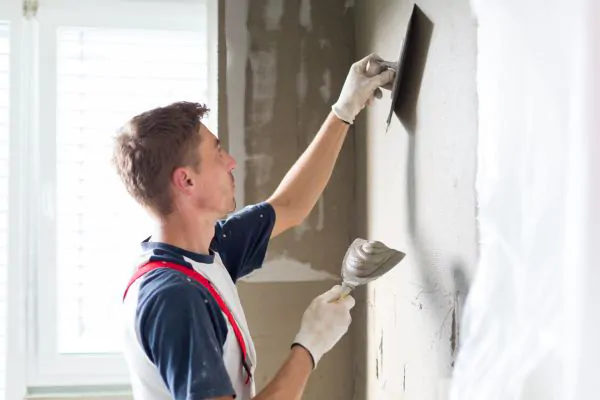
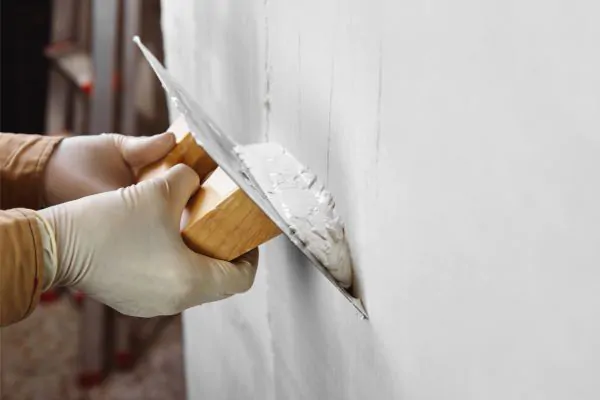
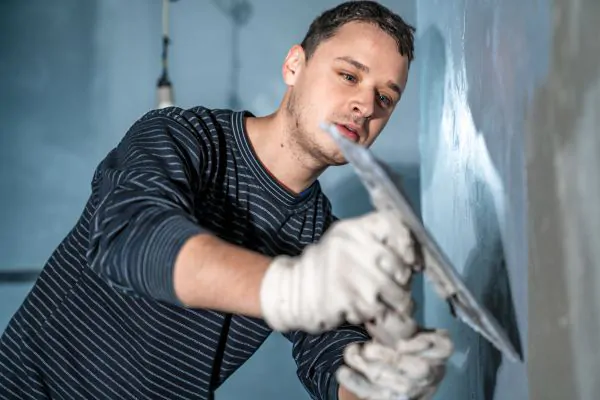
· Filling the Void
The carefully prepared void in the wall is ready for repair, with an expert choosing the right putty knife for the task.
Whether using fibrous cement for large holes or smooth spackling paste for minor dents, the material is pressed firmly into place with precise strokes. A specialized trowel is employed for larger gaps in concrete or brick, ensuring each inch is filled with Portland cement or high-grade epoxy.
The expert sculpts the material with precision, matching textures and contours. After the initial curing, the excess is buffed away with sandpaper or a sponge, creating a smooth canvas for primer and paint to restore the wall to its original state.
· Smoothing the Rough Edges
Armed with the right sandpaper grade, the professional meticulously sands the dried repair, blending it seamlessly into the existing surface.
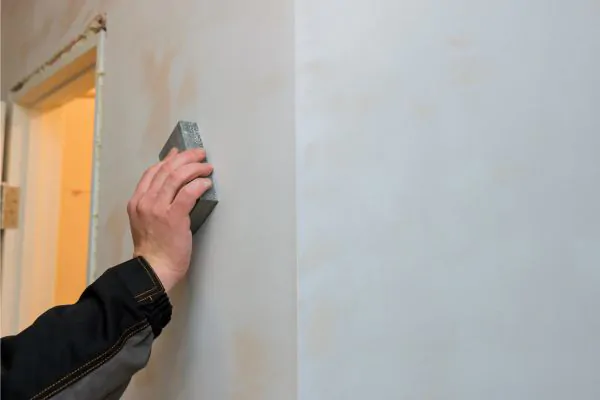
This crucial step erases any traces of the repair, setting the stage for a flawless finish. After clearing away dust with a brush or vacuum, the expert ensures a clean work site, vital for the subsequent sealant or paint adherence.
Precision is key as final touches include a thin coat of primer to seal the patch before painting. This proactive layer acts as a crucial barrier, preventing moisture ingress and ensuring consistent color and texture across the entire wall.
· Curing Patience is a Virtue
In home improvement, where precision marries persistence, the true test of craftsmanship emerges during the waiting period of ‘Curing Patience.’
This concluding phase is a vigilant pause, a professional’s commitment to allowing time for the various compounds to solidify their strength.
It’s a slow dance of chemistry where sealants, adhesives, and concretes mature into their final, enduring forms.
An experienced hand appreciates this stage as the unspoken pledge to quality, where rushing is the adversary of excellence.
Beyond the application of materials and meticulous smoothing, the ‘Sealing the Deal’ process unfolds—it’s here that resilience is forged and a flawless finish is cultivated.
· Sealing the Deal (Optional)
In the intricate dance of restoration, opting for a sealant is not required but frequently recommended; it acts as the invisible guardian, defending the newly mended surface against elements that would threaten its integrity.
It begins with a layer of concrete sealer or polyurethane, depending on the material, to create a waterproof barrier, to ensure the repair withstands both time and weather, securing the homeowner’s peace of mind.
· Standing Tall, Repair Complete!
The completed repair stands as a triumphant symbol of home improvement prowess, resilient to the weather, and a testament to the repair’s functional and aesthetic success.
Tools packed away; the pristine work area mirrors the care invested in craftsmanship. Homeowners now behold a fully restored wall, resilient against the elements.
Executed with precision, the project leaves behind a structure ready for the years ahead, untouched by misfortune.
The enduring sense of completion affirms the expert’s mantra: restored, resilient, and ready for the future, a tangible reflection of skilled repair and dedication to home aesthetics.
Conclusion
In conclusion, the importance of meticulous preparation, appropriate tools and materials selection, and precise application techniques in home repairs cannot be overstated.
Taking the time to assess the damage accurately, prepare the surface area, mix repair compounds to the correct consistency, and apply these with careful attention to detail ensures that the final restoration is aesthetically pleasing and structurally sound.